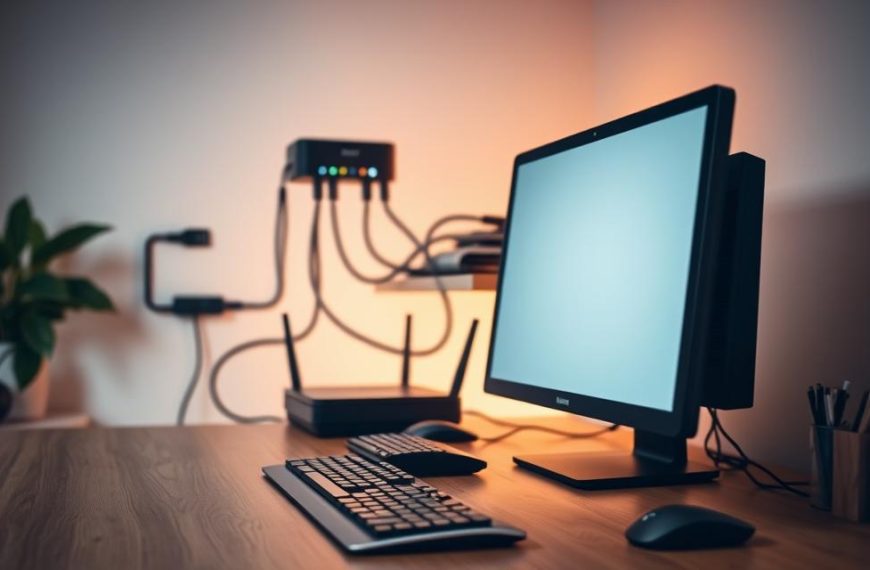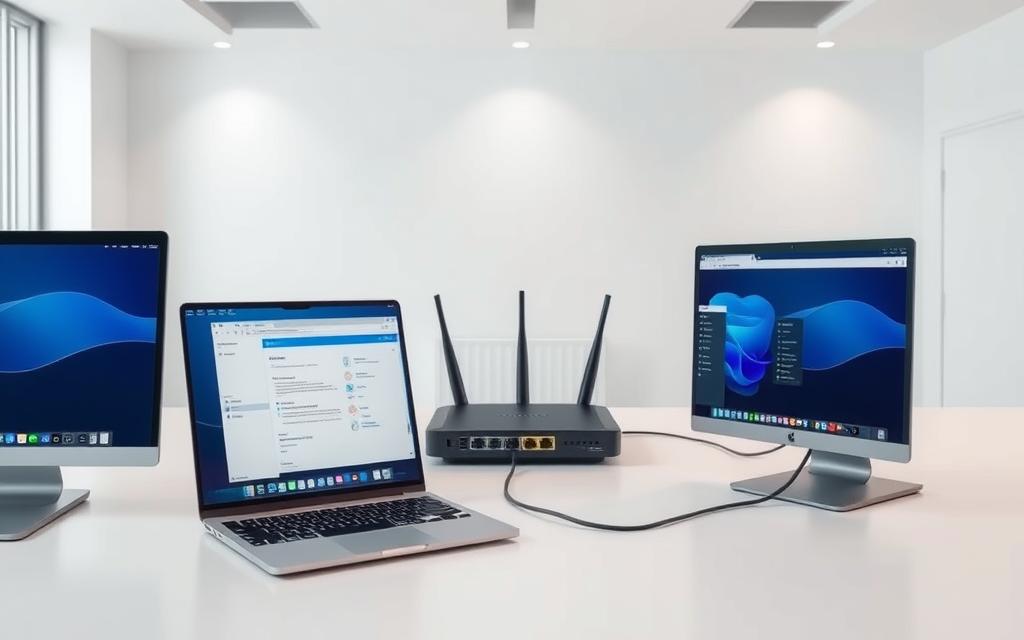
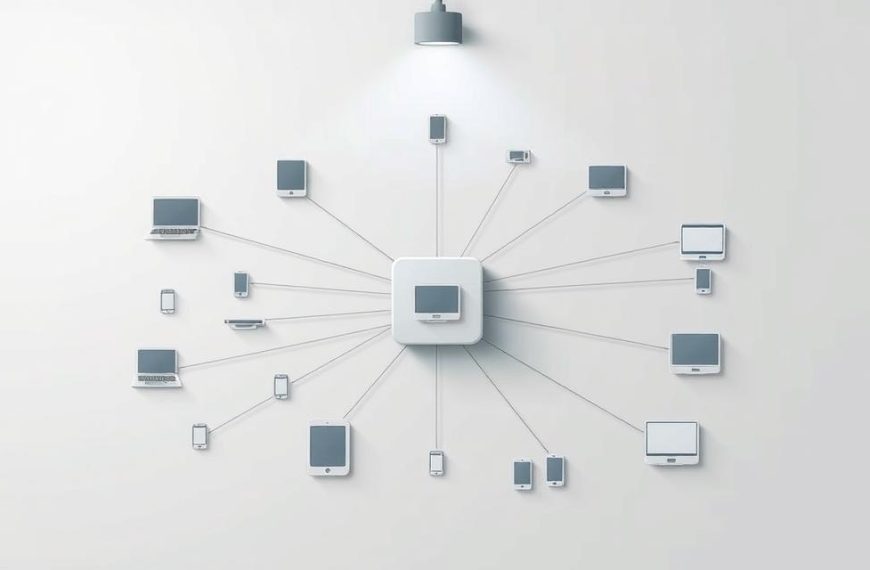
Today, we often need to share the internet across many devices. This is common when we want to extend our internet access beyond one computer.
Sharing your network can be useful for guests or as a backup. It’s all about understanding how to share your internet connection. This way, one computer can act as a hub for others.
Technologies like NAT and bridging help manage data flow. They keep your network safe while allowing devices to connect.
There are two main ways to share your internet: wired and wireless. Each method works best in different situations, depending on your needs.
This guide will cover the basics of sharing your internet connection. You’ll discover how to create stable connections for various needs.
Prerequisites for Sharing Your Network Connection
Before you start sharing your internet, make sure you have the basics covered. This step will save you time and headaches later.
Required Hardware and Software
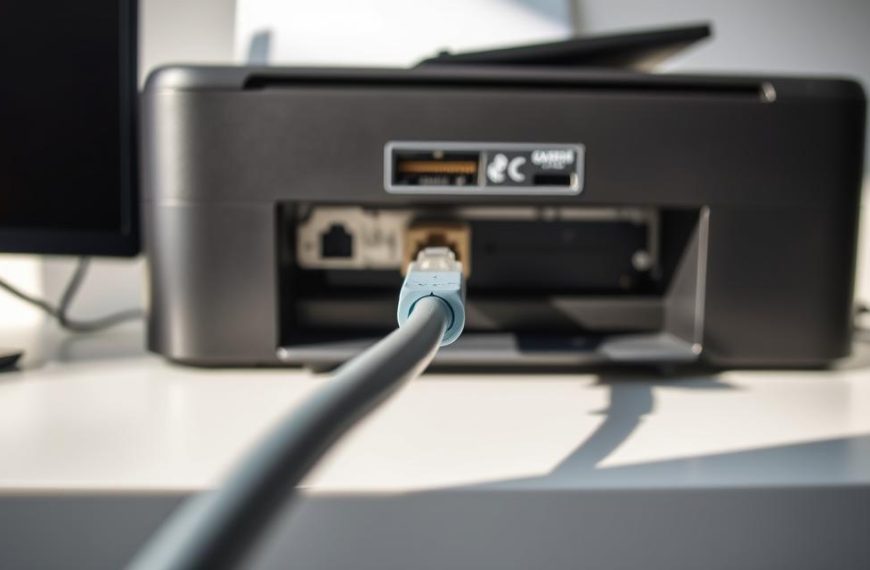
To share your network, you need the right tools. For Ethernet sharing, you’ll need:
- A standard Ethernet cable (CAT5e or higher recommended)
- Compatible network interface cards in both computers
- Optional adapters like USB-to-Ethernet or Thunderbolt-to-Ethernet if your device lacks Ethernet ports
For Wi-Fi sharing, your wireless adapter must support hosting. Most laptops can do this, but some desktops might need extra hardware.
What software you need depends on your operating system:
- Windows 10 or newer versions for built-in Internet Connection Sharing
- macOS 10.10 Yosemite or later for seamless sharing features
- Updated network drivers for the best performance
Network Configuration Basics
Knowing basic networking will help you fix problems during setup. Key things include:
IP Addressing: Each device needs a unique IP address to talk to others. Private IP ranges like 192.168.0.x or 10.0.0.x are common.
Subnet Masks: These tell your device’s IP address where the network part ends and the device part starts. A common subnet mask is 255.255.255.0.
Default Gateway: This is usually the IP address of the sharing computer. It acts as a gateway to other networks.
DNS Settings: DNS servers turn website names into IP addresses. You can use your ISP’s DNS or public ones like Google’s 8.8.8.8.
Good network setup is key for sharing connections. Knowing these basics will make the setup easier.
With the right hardware and networking knowledge, your Ethernet sharing or Wi-Fi sharing will work well from the start. Investing in the right tools and knowledge will help a lot when you start sharing.
How to Share Network to Another Computer
There are several ways to share your internet with other computers. The choice depends on your device’s operating system and whether you want to use a wire or wireless connection. Each method has its own benefits for different situations.

Using Windows Internet Connection Sharing
Windows ICS is a good way to share your internet. It works with many network adapters and is easy to set up. The steps are similar in all recent Windows versions, with slight changes in menu names.
Step 1: Access Network and Sharing Centre
Go to Control Panel > Network and Internet > Network and Sharing Centre. Or, right-click the network icon in your system tray and choose “Open Network & Internet settings.” Then, find “Change adapter settings” to see your connections.
Step 2: Configure Sharing Settings
Right-click your main internet connection and pick Properties. In the Sharing tab, check “Allow other network users to connect through this computer’s Internet connection.” Choose the right network interface from the dropdown menu. Also, enable “Allow other network users to control or disable the shared Internet connection” for more control.
Sharing via macOS
macOS sharing makes sharing the internet easy. It’s simple to set up, whether you’re new or experienced. You can share via Wi-Fi, Ethernet, or Thunderbolt.
Step 1: System Preferences Setup
Open System Preferences and click the Sharing icon. Pick “Internet Sharing” from the left menu. Choose your source internet connection from the dropdown menu.
Step 2: Enable Internet Sharing
Choose how you want to share in the “To computers using” section. Check the box next to your preferred method (Wi-Fi, Ethernet, or Bluetooth). Click Wi-Fi Options to set up your network name, security, and password. Then, check Internet Sharing in the service list to turn it on.
Creating a Mobile Hotspot
A mobile hotspot turns your device into a portable internet spot. It’s great for quick sharing or when you’re on the move. Most smartphones and tablets have this feature in their network settings.
Step 1: Activate Hotspot Feature
Go to your device’s settings and find Network & Internet. Tap on Hotspot & tethering. Turn on Wi-Fi hotspot and set up your network name and security. Use WPA2 security and a strong password to keep it safe.
Step 2: Connect the Second Computer
On the other computer, go to available wireless networks and pick your hotspot. Enter the password you set up earlier. The connection should be ready in no time, giving you internet access. Be careful with data usage, as streaming or downloads can use up your allowance fast.
Best Practices and Security Considerations
Sharing your network connection is convenient but comes with big security duties. You must protect your data and devices from threats.
When you create a network bridge, strong security is key. It stops unwanted access and keeps your network running smoothly.
Securing Your Shared Network
Start with strong encryption like WPA3 for your shared network. It’s the top security for wireless networks today.
Make passwords hard to guess. Use letters, numbers, and symbols. Don’t use easy words or personal info.
“Network security is no longer optional in our interconnected world. Every shared connection represents a vulnerability that needs protection.”
Use your firewall to control traffic. Most operating systems have a built-in firewall you can tweak for shared networks.
Don’t forget these key security steps:
- Use MAC address filtering to only allow certain devices
- Turn off network discovery when not needed
- Keep all security software and firmware up to date
- Set timeouts for idle connections
For experts, using VLANs can add extra security. It helps limit damage if a device gets hacked.
Monitoring Connection Usage
Keep an eye on your network to spot issues and odd behaviour. Many routers have tools for this.
For more detailed info, use third-party apps. They can warn you of strange connection attempts or data patterns.
Make rules for shared networks, like in businesses. This stops misuse and keeps service quality high for everyone.
Here are some monitoring tips:
| Monitoring Aspect | Recommended Tool | Frequency |
|---|---|---|
| Bandwidth Usage | Router Admin Panel | Weekly |
| Connected Devices | Network Scanner Apps | Daily |
| Security Events | Firewall Logs | Immediate Alerts |
| Performance Metrics | Speed Test Tools | Monthly |
Check your logs often to catch problems early. This helps fix issues before they get worse.
Limit mobile hotspot data to avoid high bills. Most phones have apps to track data use.
Regular monitoring is key to network security. It helps you spot and fix problems fast, keeping your network safe and efficient.
Troubleshooting Common Issues
Even with the right setup, network sharing can sometimes face problems. This part talks about the usual issues and how to fix them to get your network working again.
Connection Drops or Slow Speeds
Connection problems or slow speeds often come from the environment or setup. Start by checking your device’s signal strength. A weak signal can cause issues.
For wireless connections, look out for these common problems:
- Physical obstructions between devices
- Interference from other electronic equipment
- Overcrowded wireless channels in your area
- Outdated network drivers on the host computer
Wired connections need attention too. Check Ethernet cables for damage and make sure all connectors are tight. Sometimes, just restarting both devices fixes the problem.

If issues keep happening, check your network settings. Wrong IP addresses or subnet mismatches can cause problems. Make sure all devices have the same settings.
Authentication Errors
Authentication failures stop devices from joining your network, even with the right settings. These errors show as “access denied” messages or constant password requests.
First, make sure your security key is correct. Wireless passwords are case-sensitive. If you’re unsure, try disabling security to see if it’s the problem.
Different operating systems handle security in different ways. Use common encryption like WPA2 for your network settings.
For ongoing authentication issues, use this troubleshooting guide:
| Error Type | Possible Cause | Recommended Action |
|---|---|---|
| Certificate Errors | Expired or mismatched security certificates | Renew certificates or use simpler authentication |
| Password Rejects | Character encoding differences between systems | Use basic alphanumeric passwords without special characters |
| Protocol Mismatch | Incompatible security protocols between devices | Standardise on WPA2 security on all devices |
Some authentication problems need checking of advanced settings. This includes MAC address filtering or enterprise security options that might be turned on by mistake.
Conclusion
Sharing your internet connection needs careful thought. It’s important to think about what you need and your environment. Whether it’s for a guest or to expand your network, there are many ways to do it.
Before you start, check if your hardware and network settings will work together. Keeping your network safe is key when you share it. Watch your network closely to keep it running well and secure.
Mobile hotspots are great for quick, temporary needs. Windows Internet Connection Sharing is better for wired setups. If you’re part of an Apple ecosystem, macOS has strong built-in options. Each method is good for different situations.
If you’re looking at more advanced networking, tools like DeskIn’s remote access solutions can help. Learning the basics is the first step to managing more complex networks.
FAQ
What is network connection sharing and when would I use it?
Network connection sharing lets one computer share its internet with another. It’s useful for guests, as a backup, or to boost weak signals.
What hardware do I need to share a network connection via Ethernet?
You need an Ethernet cable and the right network cards on both devices. You might also need adapters for computers without Ethernet ports.
Which operating systems support built-in network sharing features?
Windows 10 and 11, macOS, iOS, and Android all support sharing internet connections. They have features like Internet Connection Sharing and personal hotspot.
How do I share my internet connection using Windows?
Go to the Network and Sharing Centre on Windows. Then, enable Internet Connection Sharing in your connection’s properties. Choose the right adapter and set up security.
Can I share my internet connection from a Mac?
Yes, macOS has Internet Sharing in System Preferences. Pick your source connection and share it via Wi-Fi or Thunderbolt.
How do I set up a mobile hotspot on my smartphone?
Enable personal hotspot in your phone’s settings. Set a strong password and turn on mobile data. Devices can connect via Wi-Fi, Bluetooth, or USB.
What security measures should I take when sharing my network?
Use WPA3 encryption and a complex password. Set up your firewall and only allow trusted devices. Keep an eye on connected devices and update security regularly.
How can I monitor usage on my shared network?
Use your OS’s tools or third-party apps to track bandwidth and devices. Set limits to prevent misuse.
Why is my shared connection dropping or running slowly?
Drops or slow speeds can be due to interference, weak signals, or faulty cables. Improve signal strength and choose less busy Wi-Fi channels.
What should I do if I encounter authentication errors?
Authentication problems often come from wrong passwords or system incompatibilities. Check your settings, ensure correct passwords, and match encryption standards.
 By
By