Setting up your office or home printing solution needs careful thought. Many choose USB, but a wired printer setup is better for shared spaces. It offers top performance and flexibility.
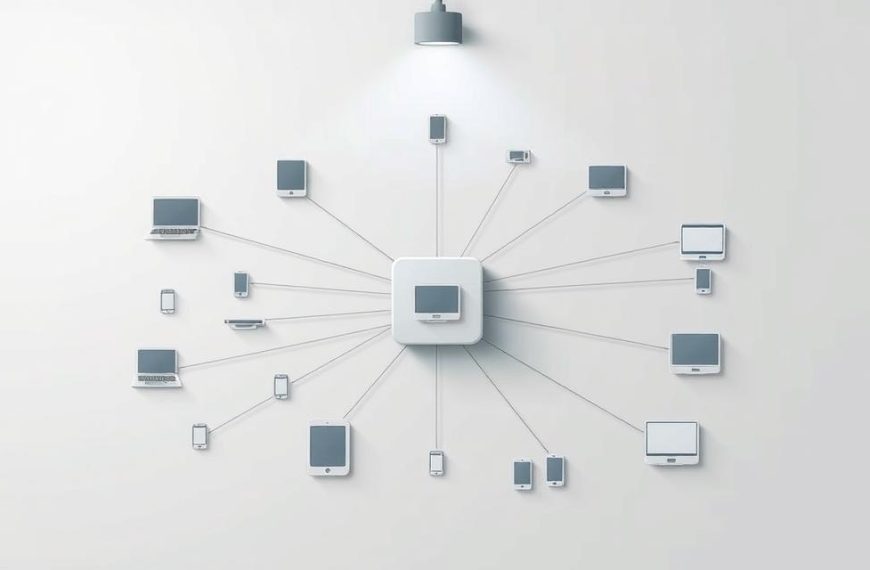
Ethernet connections are faster than USB. They let many devices use the printer at once. This is thanks to your network setup.
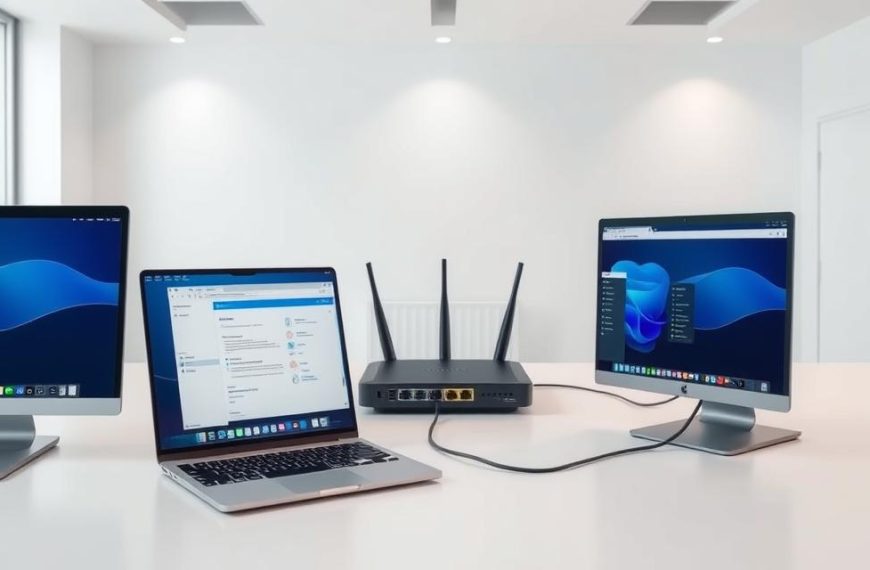
To connect via Ethernet, link your device to a router or switch, not just one computer. This makes it easy to manage the printer from anywhere. You can change settings through the printer’s web server.
For a successful network printer installation, you’ll need some basic gear. This gear is usually not included with your printer. Plan well to set it up smoothly. This way, you’ll get reliable printing for everyone on your network.
Prerequisites for Connecting Your Printer
Before you start, make sure you have everything you need. Check if your system can work with your printer. This makes setting up your printer easy and quick.
Required Hardware and Cables
For network printing, you need the right stuff. Your printer hardware requirements include an Ethernet port and the right cable.
Choosing the Right Ethernet Cable
Go for Category 5e or higher Ethernet cables. These Ethernet cable types ensure fast data transfer for printing.
Essential Printer and Computer Specifications
Make sure your printer has an Ethernet port and your computer can connect to a network. Most devices can do this, but it’s good to check.
Network and Software Requirements
It’s not just about the physical stuff. Your network setup and software are key. Get these network prerequisites sorted out first for easy printer setup.
Checking Your Network Setup
Make sure you have a working network switch or router. Don’t use uplink ports. Check your network is stable and has enough Ethernet ports.
Installing Necessary Drivers
Get the latest printer drivers from the maker’s site before you start. Turn off wireless on your printer if it’s set up for wireless. This avoids connection problems.
Being ready with everything before you start makes setting up your printer easy. This way, you avoid most common problems that come up during setup.
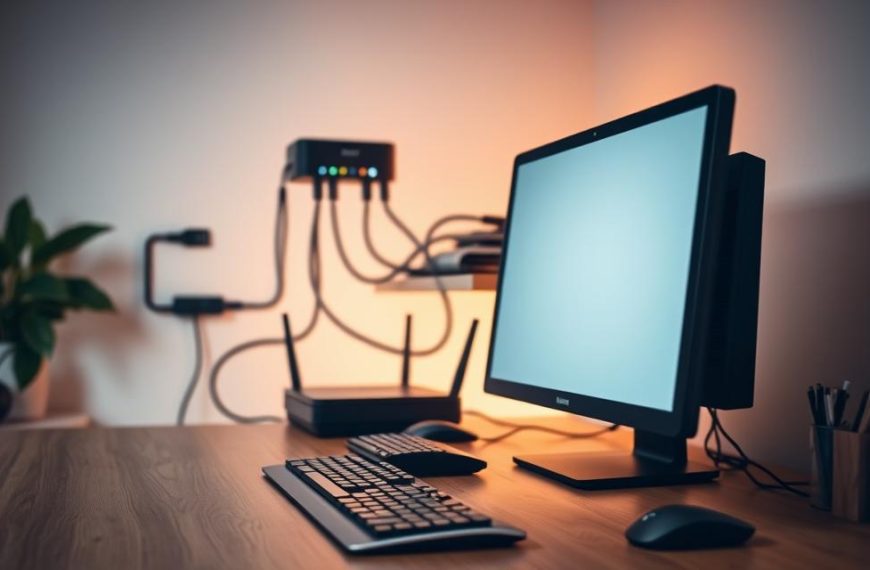
How to Connect Printer to Computer Using Network Cable
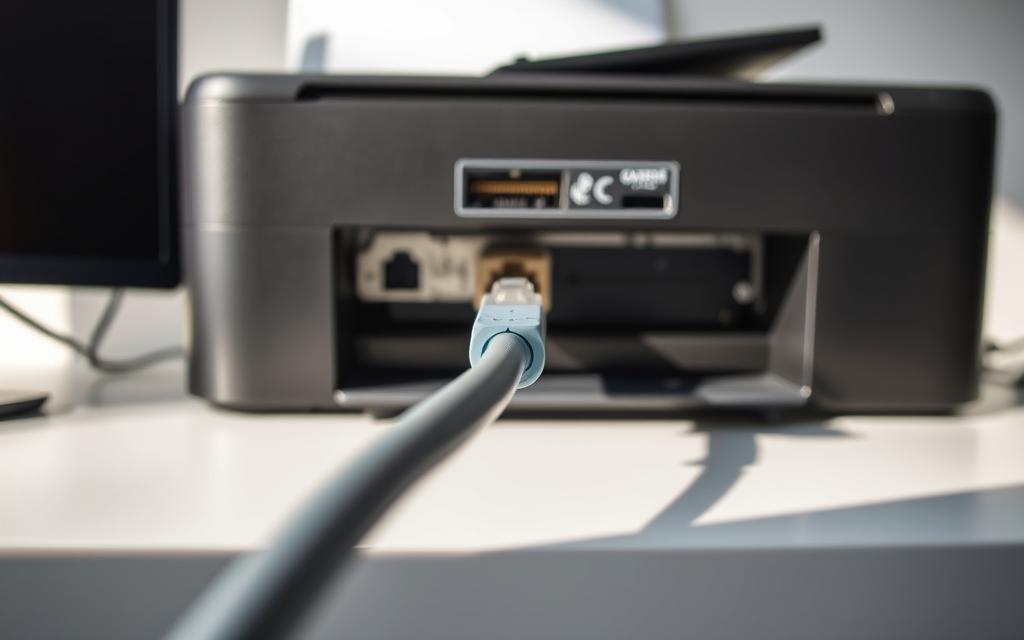
Start by turning off your printer. Then, plug one end of the Ethernet cable into your printer’s network port. Plug the other end into a free port on your router or network switch. Make sure not to use uplink ports, as they have different roles. After plugging in, turn on your printer to make the physical connection.
Next, you need to set up the IP address. Most printers get an IP address automatically from DHCP. Or, you can set it manually through the printer’s menu. Use the default password, usually 123456, to access the admin settings. Here, you can give your printer a static IP if your network needs it.
To check if everything is working, print a configuration report from your printer’s menu. This report will show the IP address assigned to your printer. Open your browser and type in this IP address to access the printer’s web interface. Install the right drivers on your computer, choosing the “Wired Network Connection” option during setup.
If you run into problems, start by checking the cable and router ports. Also, make sure the IP address is set correctly. To test, send a print job from your computer. This will confirm that your printer and computer are talking to each other.
FAQ
Why should I use an Ethernet connection instead of a USB connection for my printer?
Ethernet connections are better for networks. They let many users access the printer from anywhere. They also transfer data faster and manage the printer through a web server.
Unlike USB, Ethernet lets the printer join your network. This way, everyone can use it.
What type of Ethernet cable do I need to connect my printer?
Use a Category 5e or higher Ethernet cable. These are compatible and fast enough for printers. Don’t use crossover cables, as they’re not needed today.
How do I check if my printer has an Ethernet port?
Look for a big jack on the back or side of your printer. It’s usually marked “LAN” or “Ethernet.” Check your printer’s manual or the manufacturer’s website for more info.
Should I disable wireless on my printer when using a wired connection?
Yes, turn off wireless to avoid problems. You can do this in the printer’s network settings menu. This ensures it uses the Ethernet connection.
How do I find and install the correct drivers for my printer?
Go to the manufacturer’s website, like HP or Brother. Search for your printer model. Download the latest drivers for your system, choosing the wired network option.
What is the correct sequence for connecting my printer to the network?
First, turn off the printer. Then, connect the Ethernet cable to both the printer and your router. Lastly, turn on the printer. This helps it connect to the network right away.
How do I assign an IP address to my printer manually?
Go to the printer’s menu, then network settings. Choose manual IP. Enter an IP address that fits your network, along with subnet mask and default gateway. You might need a default password like 123456.
How can I verify that my printer is successfully connected to the network?
Print a network report from the printer’s menu. It will show its IP address. Enter this IP in a browser to check the printer’s web server.
What should I do if my computer does not detect the printer after setup?
Make sure printer and computer are on the same network. Check the Ethernet cable and printer’s IP settings. Also, ensure the right drivers are installed. Restarting devices can solve the problem.
Can I use an uplink port on my router or switch for the printer connection?
No, avoid uplink ports for printers. They’re for connecting to other network devices. Use a regular LAN port for better connection.
 By
By